Portable and Compact
Portable and Compact
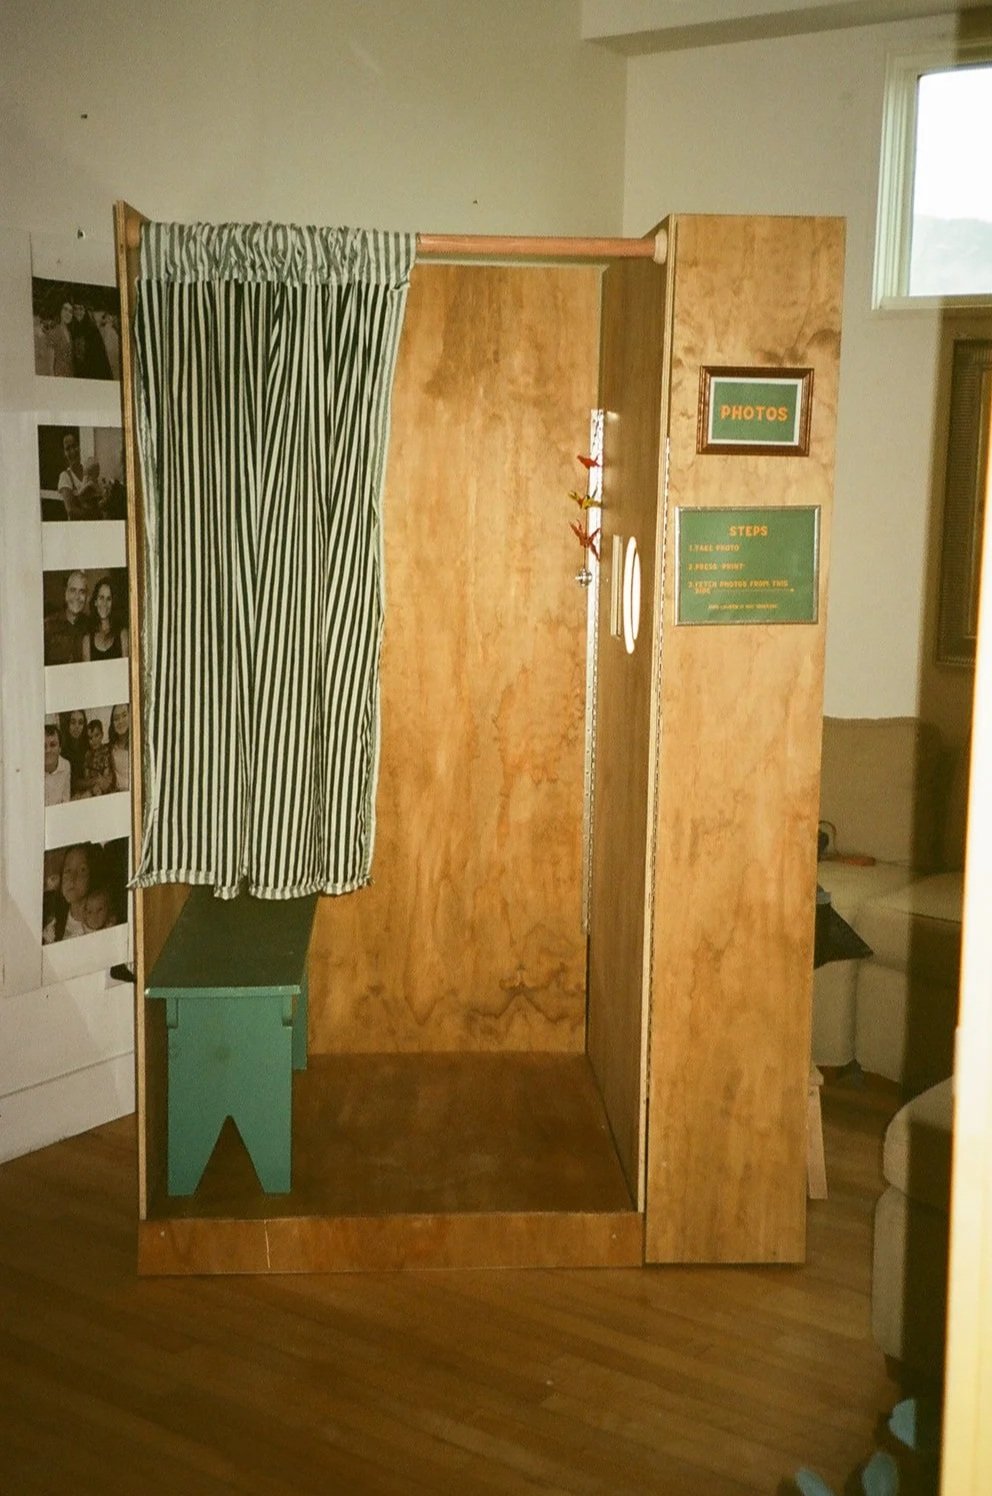
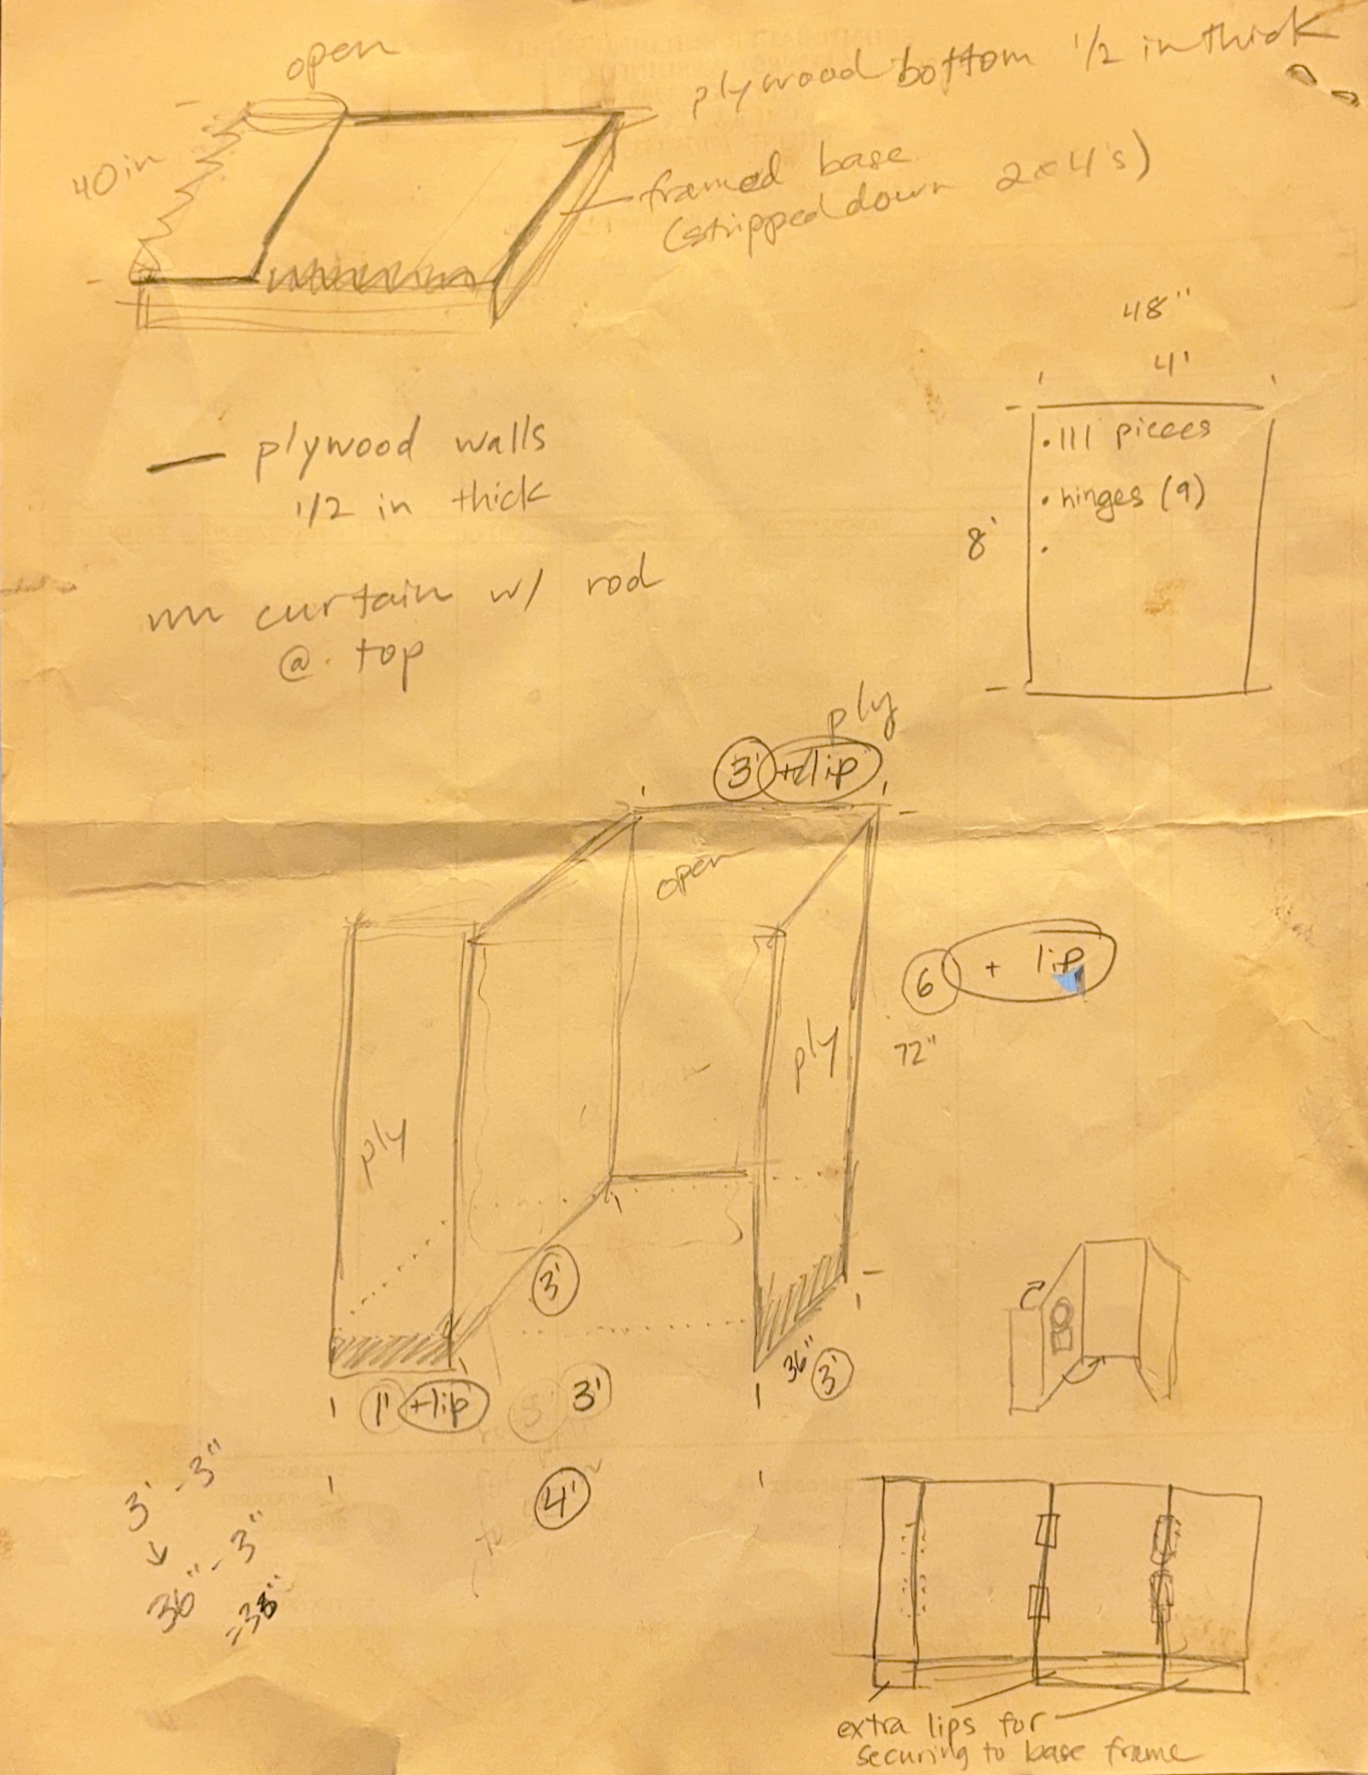
Thoughtfully designed with hinges, this photo booth can be folded into itself for easy travel and storage.
Materials
four sheets of ½ in plywood (4’ x 8’ sheets)
for the walls and base
two continuous/piano hinges
for connecting the walls and making it foldable
one 4’ x 3’ framed base
hidden fastener screws
for fastening the walls to the base when it’s time for assembly
curtain rod
curtain
iPad, app (i recommend Booth.Events), and Canva template
ringlight
printer (optional)
wood stain or paint (optional)
Build Process
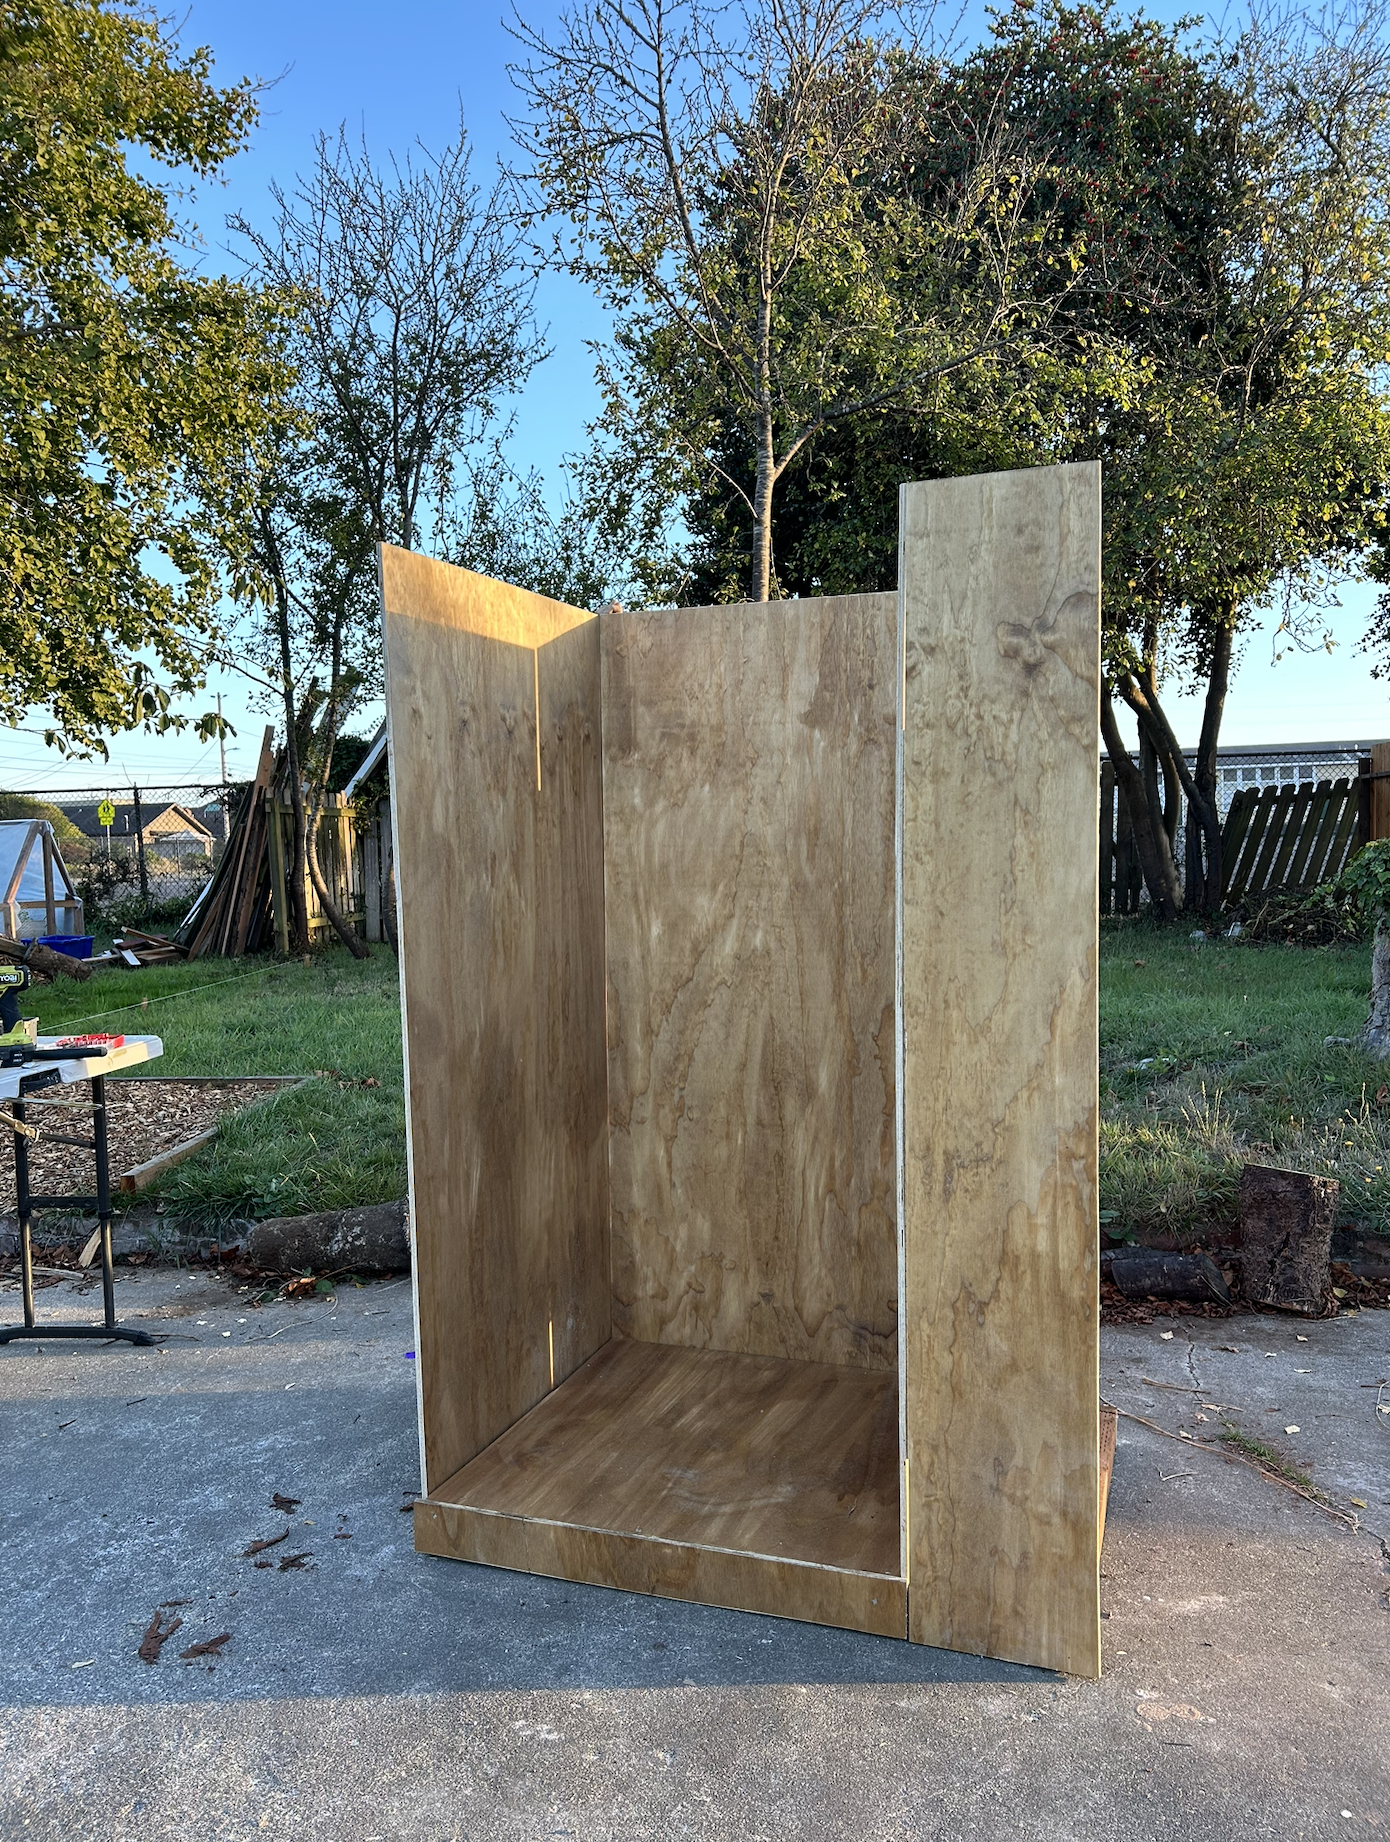
build sturdy 3’ x 4’ base using 2×4s and a plywood top. nail together
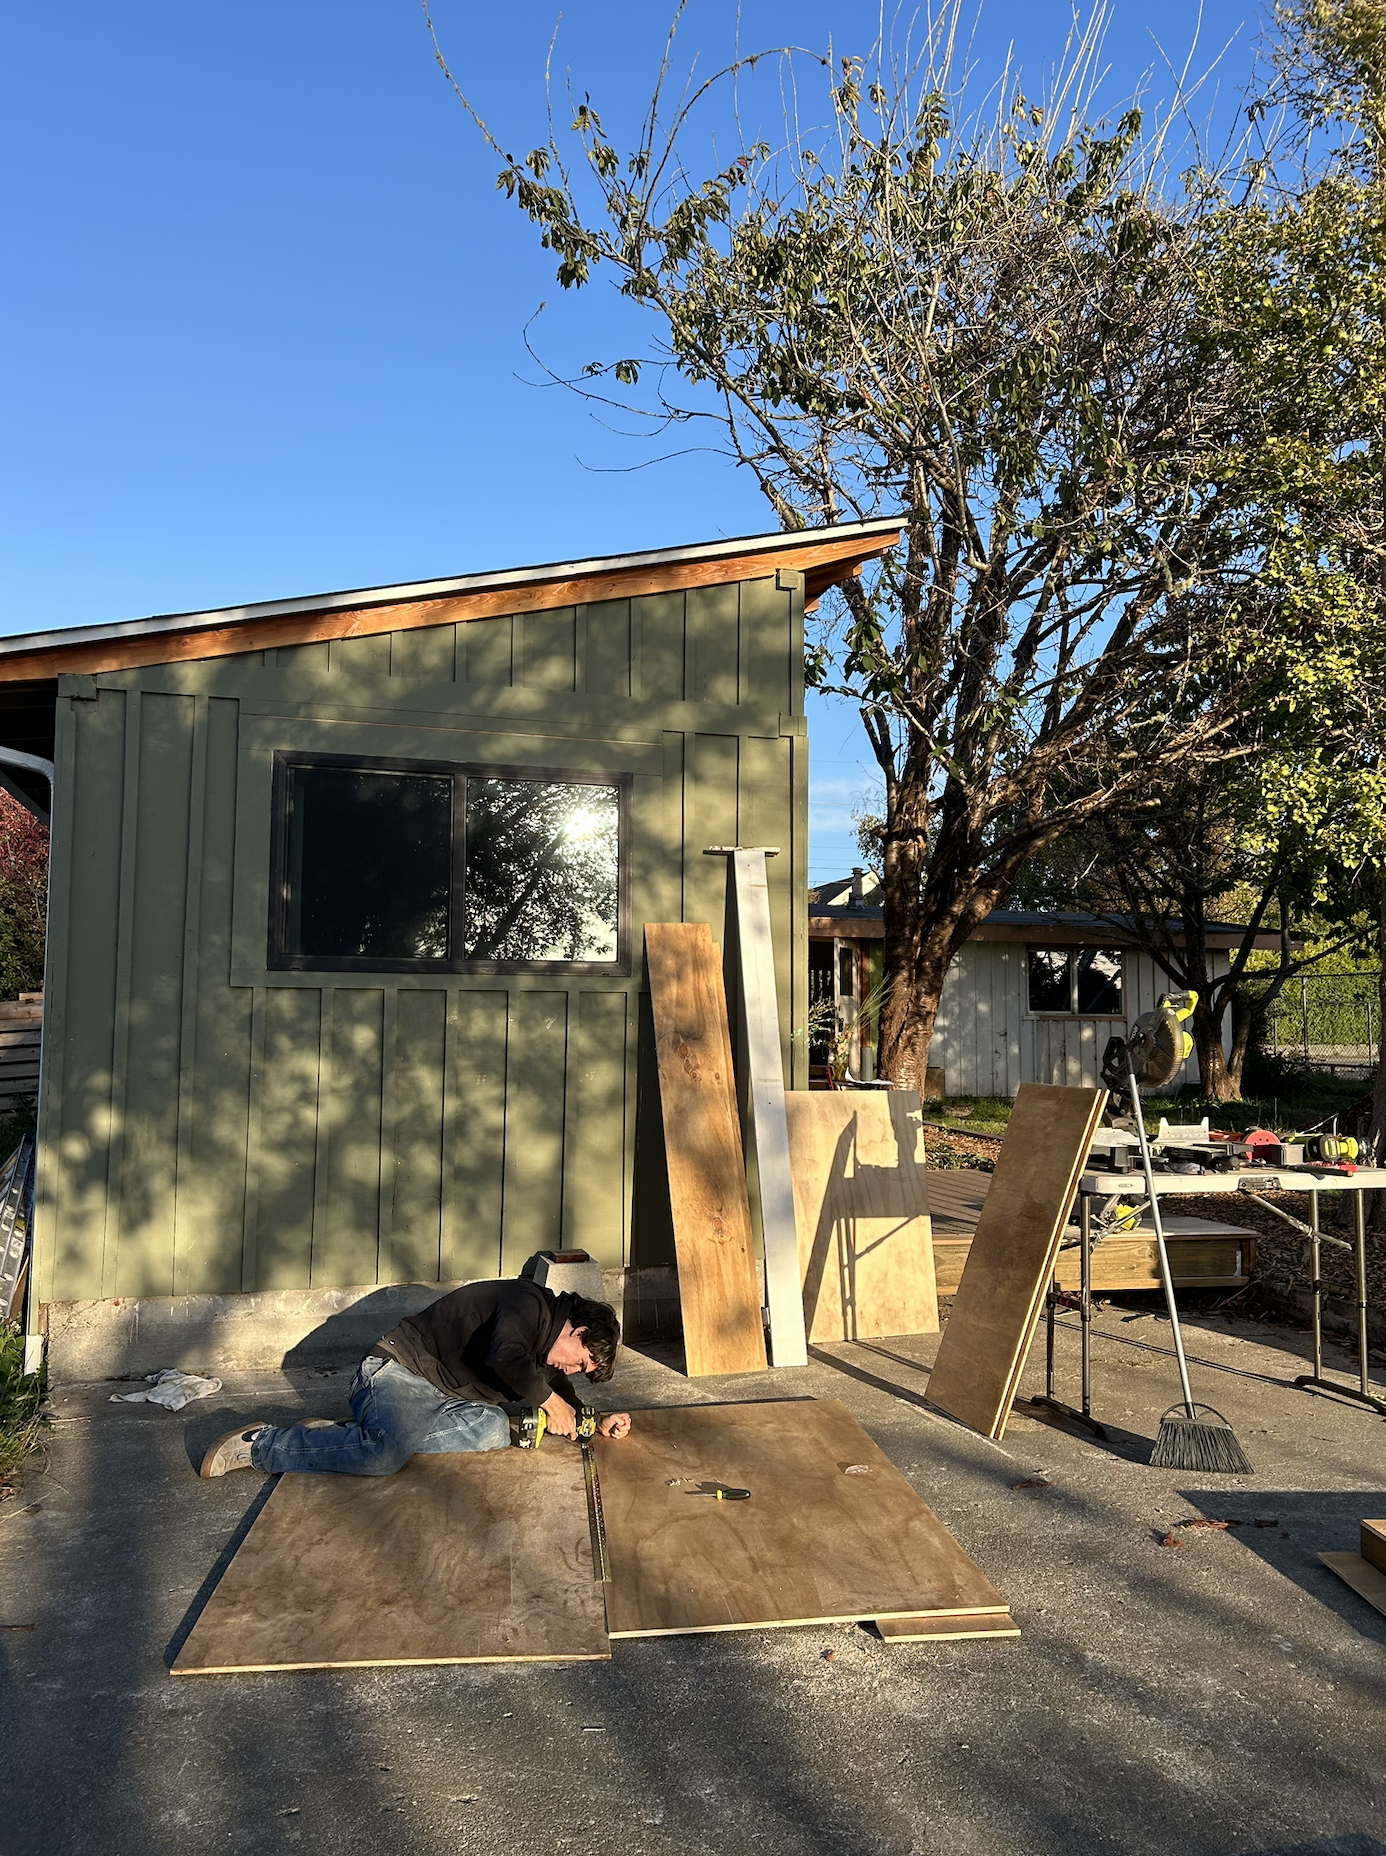
cut 4 plywood pieces to size. leave ‘lips’ so sides can be secured to base.
attach hinges
cut holes for iPad and ringlight. hook up printer, if using.
hang curtain and rod
add accessories
“Every wedding needs a photo booth,”
I explained to my sister when she started planning her wedding. She and her husband were doing it on a budget and mostly all themselves - and I was 700 miles away, unable to contribute much to the setup in the days leading up. I decided to build them a photo booth for the big day.
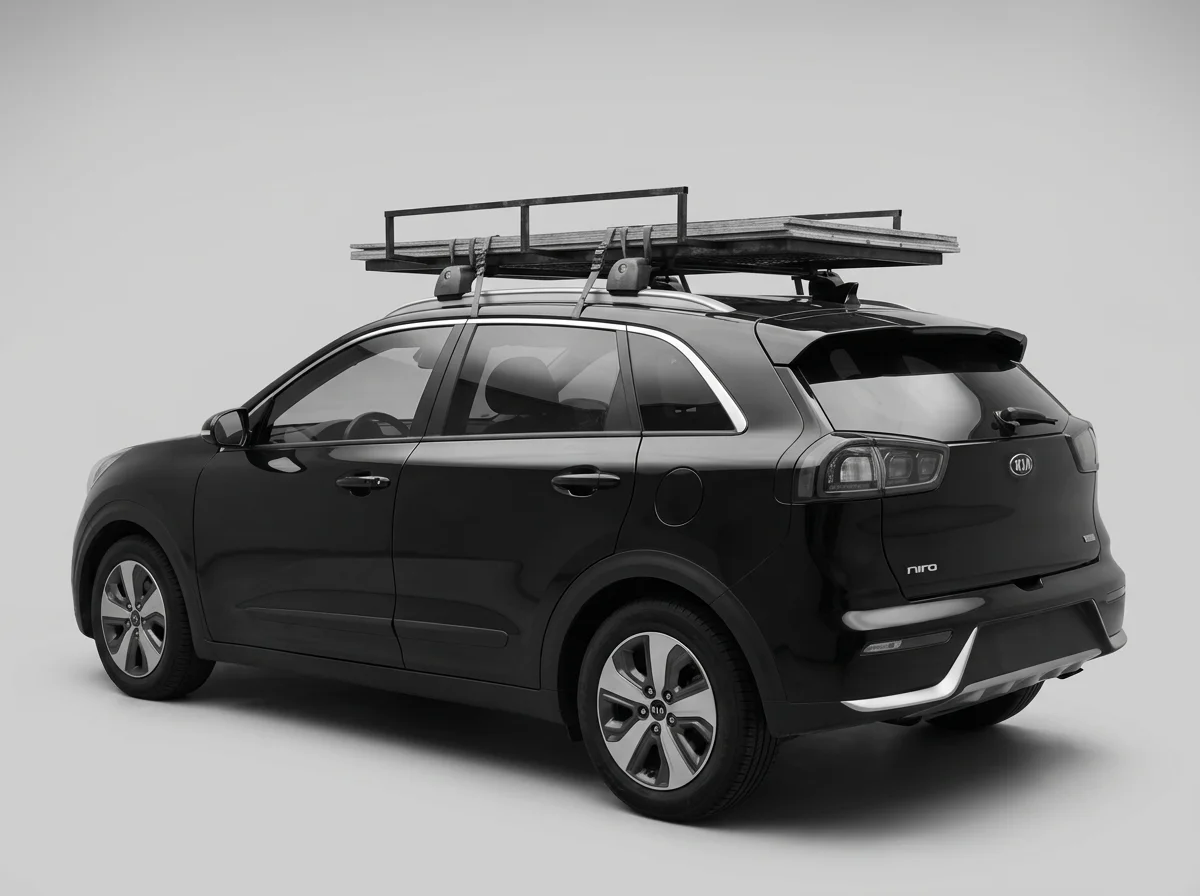
In order to make the 700 mile journey on top of my small Kia Niro, it needed to be portable. I came up with a 4 panel design, 3 of them hinged together and able to fold into each other. When the 3 panels are folded together with the 4th panel on top (I couldn’t figure out a way to make this part fold into the rest of the panels), the stack measure 2 inches. It’s not insignificant, but it’s better than hauling a huge, prebuilt box down the coast of California.
The base was separate from this stack - which wasn’t ideal and made it less “compact and portable” The base was built from 2×4s and plywood top. This base held the panels up when they folded out so it was important that it was sturdy. 3 of the 4 panels had an extra 3 ½ in lip so they could be fastened to the base during assembly. The panel that spanned the top of the base had no lip because it simply rested on top of the base.
Once the booth itself was built, I had to figure out the technology side of things…
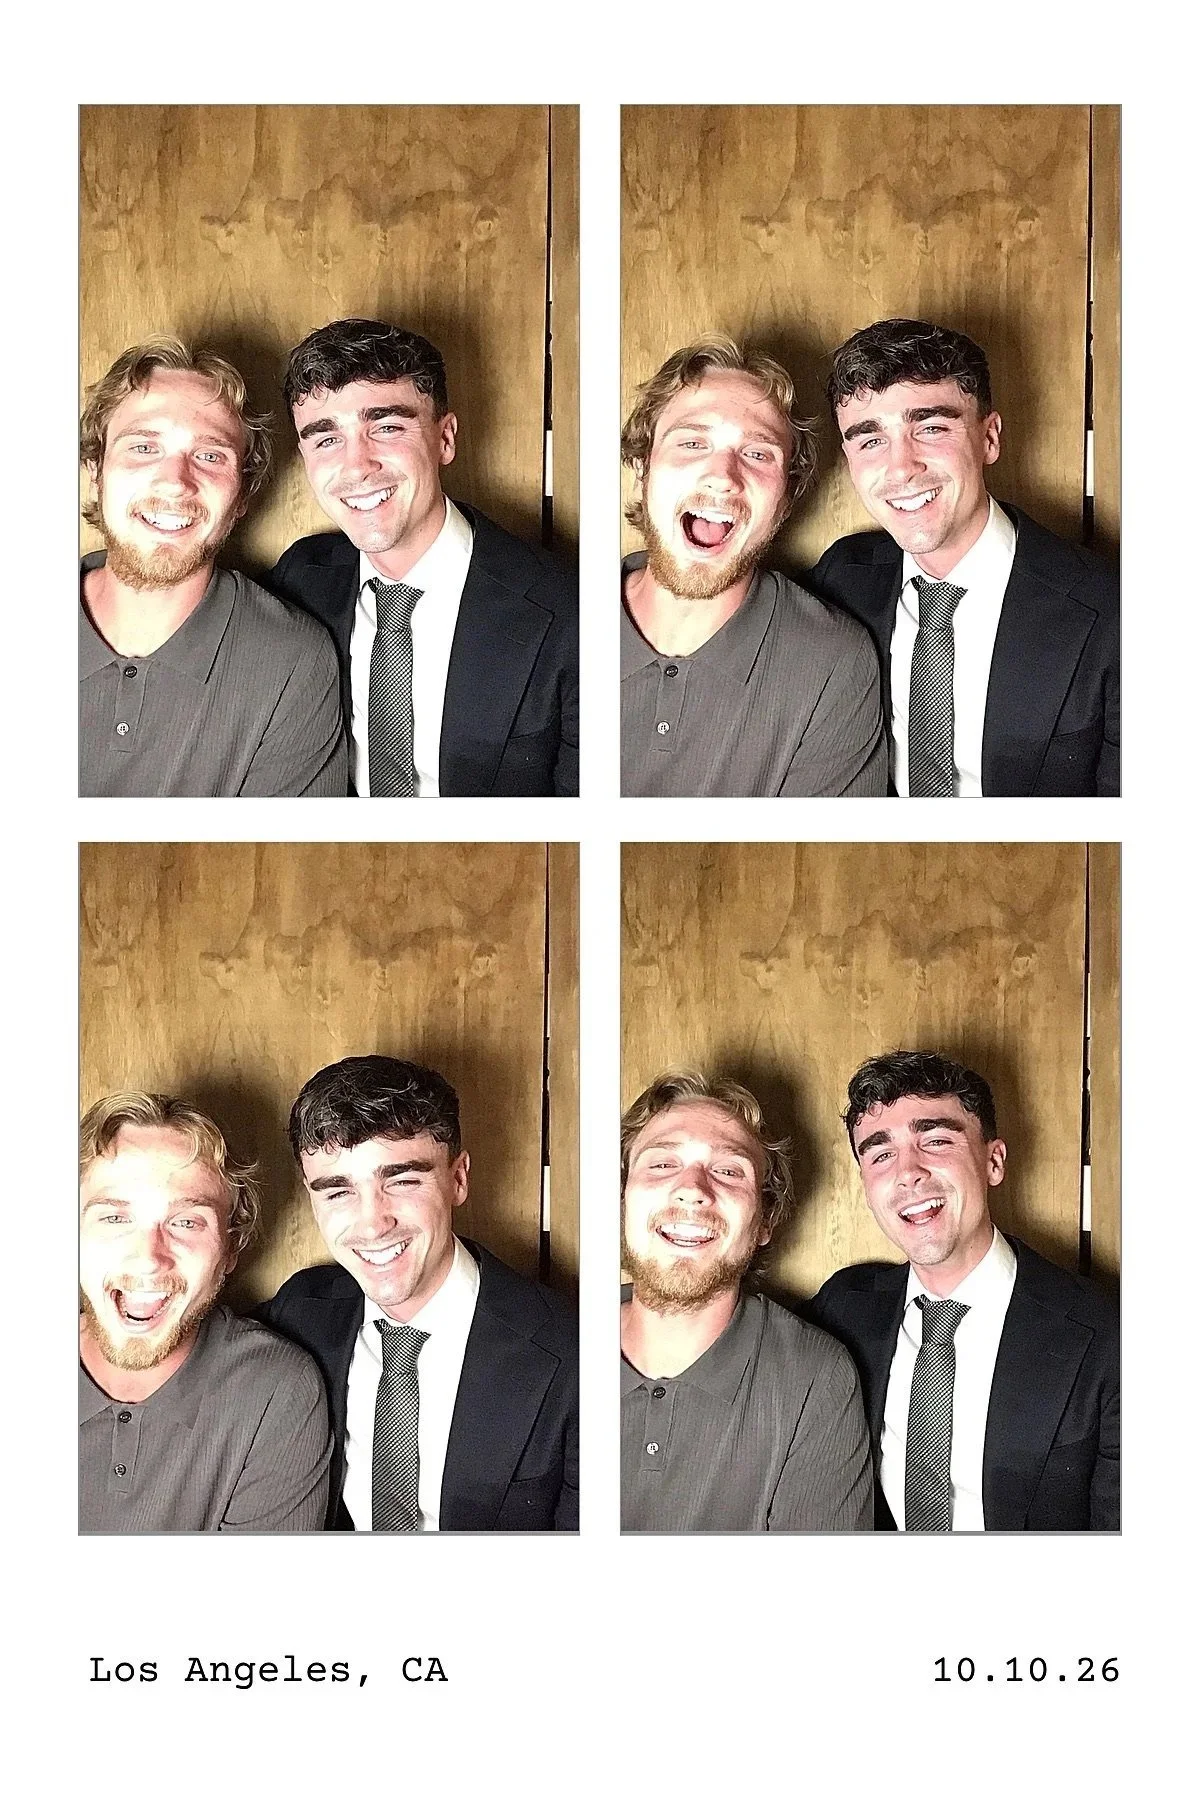
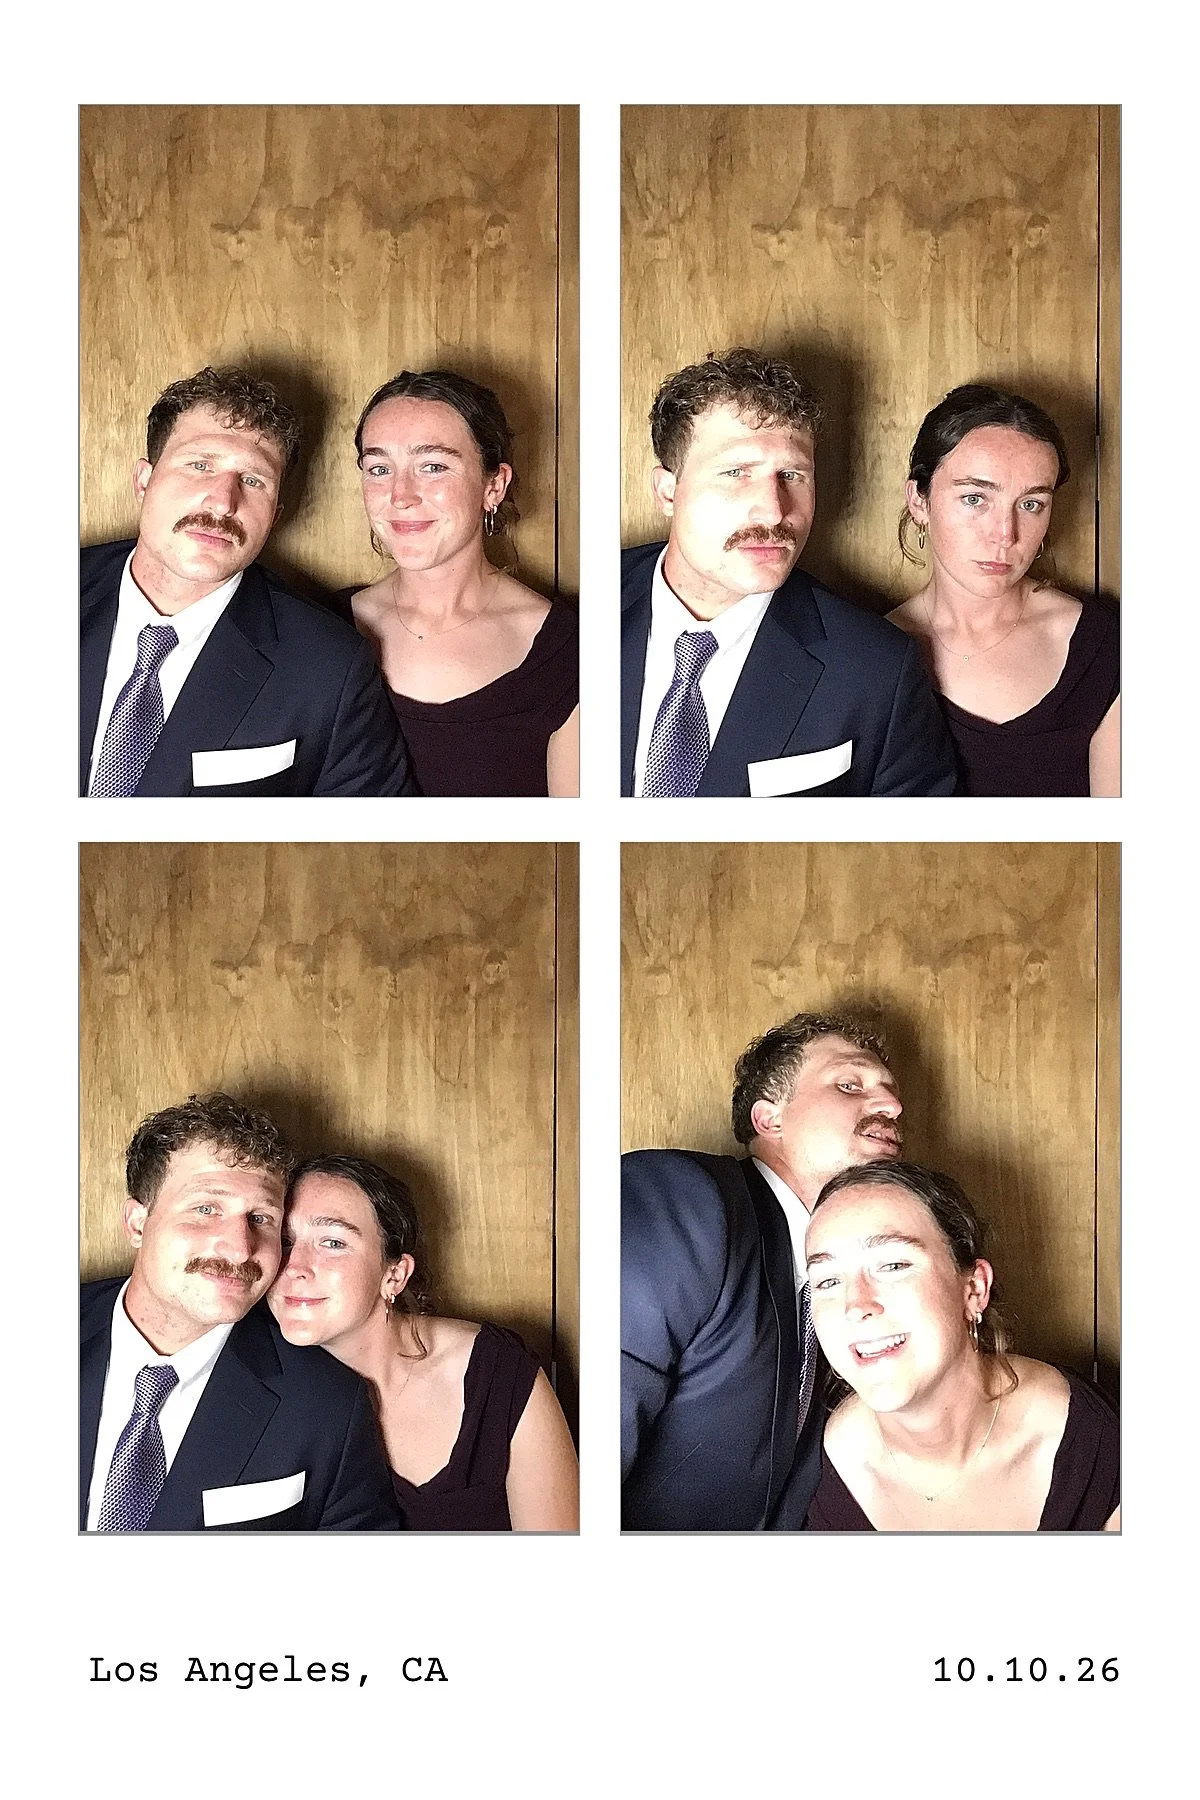
I dug up an old iPad, designed a photo booth template on Canva.com, downloaded Booth.Events, and ordered a ring light on Amazon.com. Booth.Events allows Photo Booth guests to either print (more on that later) or scan with a QR code to receive their photos. I paid $19 for a week-long pass. All photo booth strips were posted to an online gallery which could be accessed in the week after the wedding.
My aunt had a Canon Prixma photo printer that worked very well for the beginning of the night, allowing guests to print their photo strips in real time and walk away with a souvenir. When guests couldn’t successfully print, they just sent their photo strips to their phones with the QR code. I fully expected the printer to not work at all because printers tend to suck and never work when you need them to. I was glad to be able to offer the QR code option.
Final Thoughts…
I loved this project and would say it was mostly successful. When I was trying to find inspiration online and a step-by-step guide on how to execute it, there wasn’t much out there. I hope that the materials list and process steps I have created help anyone who is looking to build their own photo booth possible.